
Ever left something perfectly fine and came back to a total disaster? Any pet owner will probably say, "yes."
At work, the same can happen when collaborating on a shared document. It's usually an accidental keyboard stroke that does it. Unless it's done by your cat, in which case, it's not accidental – it's definitely sabotage.
While a mistake like this is understandable, it can be frustrating and time-consuming to fix. When working on shared Excel sheets, you can prevent these mishaps altogether by locking cells and protecting your worksheets.
Whether you're working on an upcoming report or planning out next quarter's budget, learn how to prevent anyone from changing or deleting important information on an Excel document.
Can you lock cells in Excel?
Yes, you can lock cells on Excel by following a few simple steps. When you lock a cell in Excel, you restrict users from making changes to your sheets. It's particularly helpful when working on a project that involves multiple team members.
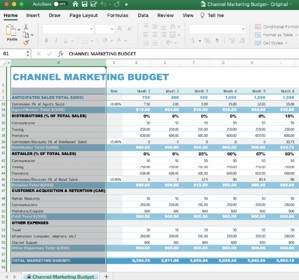
For instance, let's say you're the marketing director and you've asked each channel lead (email, website, social) to report their quarterly numbers for an upcoming meeting.
You wouldn't want someone accidentally deleting important information, or changing formulas or conditional formatting before consulting with key stakeholders. This process ensures that only pre-approved users can edit the cell, which will save you a headache in the future.
Another method is locking your formula cells so that the numbers populate correctly. Jump to that section here.
How to Lock Cells in Excel
1. Select the cell(s) you want to lock.
2. Click on the "Home" tab of your Excel sheet.
3. Click on "Format," located on the right side of the screen.
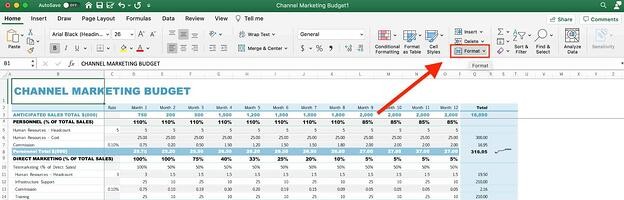
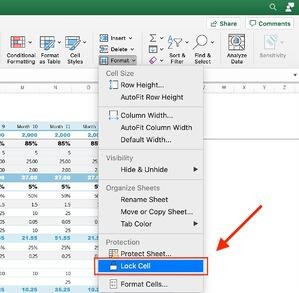
4. Scroll down and click on "Lock Cell."
Once you complete these steps, your cells will be locked but can still be edited. To ensure the cells aren't editable, you'll also have to protect your worksheet. Find those steps in the next section.
How To Protect a Worksheet in Excel
1. Once you've locked your cells, click on the "Review" tab.
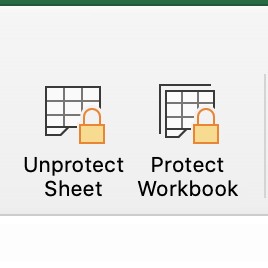
2. Click on "Protect Sheet."
3. Select which permissions you'd like to allow on the sheet, then click "OK." You can also add a password for additional protection.
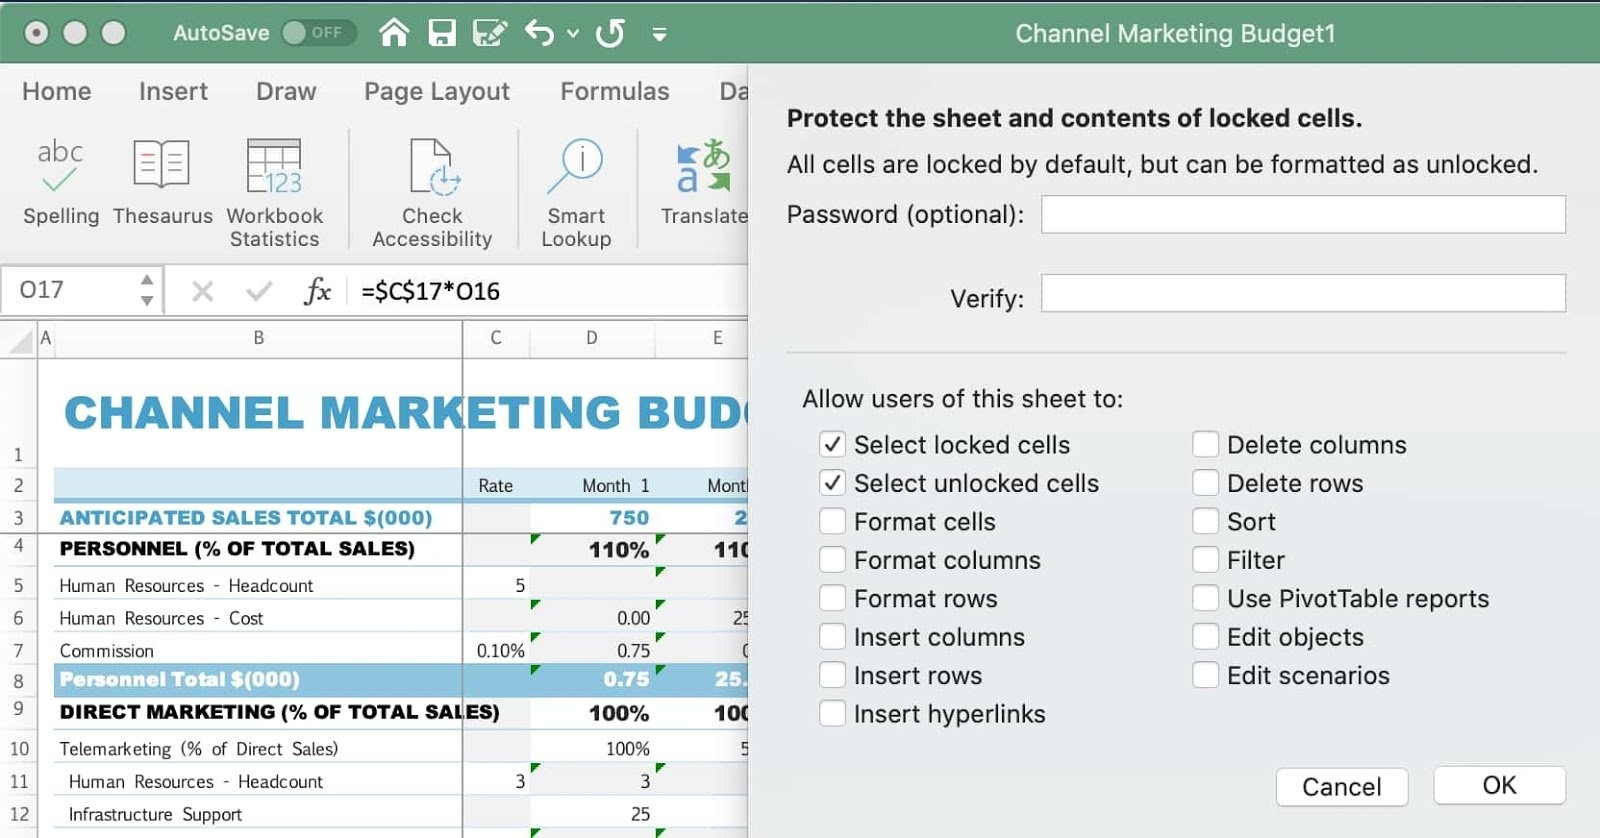
Note: If you don't add a password, any user can click "Unprotect Sheet" to make changes to the sheet. When you add a password, only those with the code can do so.
4. Confirm that your cells are locked by looking for the "Unprotect Sheet" icon in the toolbar.
You can also double-check that your worksheet is protected by attempting to write something in the locked cells. You should get this alert.
How to Protect Specific Cells in Excel (& Get a Shortcut to Lock Cells)
1. Select the cells you want to lock then press Ctrl+Shift+F (Windows) or Ctrl + 1 (Mac) to open up the "Format Cells" box. Then, click on the "Protection" tab.
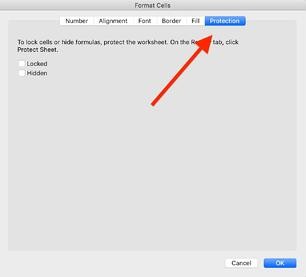
2. Select the "Locked" box and click "OK" on the bottom right to finish.
These simple steps offer both a shortcut to locking cells in bulk and a way to protect specific cells in Excel.
How to Protect Formulas in Excel
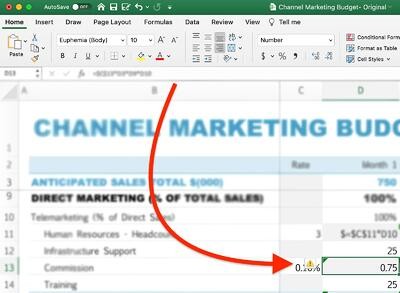
A green triangle indicates an error in your cell's formula. The error sign will show up if your formula is unprotected.
Any unauthorized or accidental changes to a formula can alter the integrity of the data reported in the sheet. As such, it's important to always lock your formulas to prevent mistakes.
Here's how you protect your formulas in Excel:
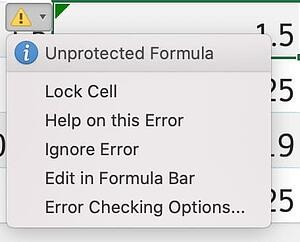
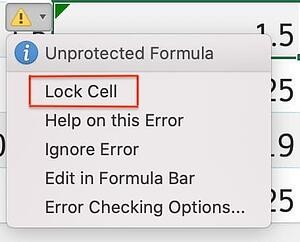
1. Click on the cell with the green triangle and look for the yellow triangle warning sign.
2. Click on the warning sign and select "Lock Cell."
3. You must then protect your worksheet by clicking on "Protect Sheet" under the "Review" tab.
Another way to protect your formulas is by locking each formula cell individually as you build your worksheet (as outlined here) and protecting your sheet once all formulas have been locked.
Whether you're the person fixing the mistake or the one who made it, following these steps will ensure it never happens again. And your cat will have to find something else to sabotage.